
Permanent Makeup Insurance, Step by Step
- kasiaherdman
- Dec 19, 2025
- 3 min read
What to look for, how to apply, and why your learning hours matter
Insurance is not the most exciting part of permanent makeup. No one gets into PMU dreaming about policies and paperwork. But it is one of those quiet, behind-the-scenes things that separates “trying PMU” from building a real, professional practice.
The good news? It doesn’t have to be scary or complicated. Let’s walk through it step by step.
Step 1: Be clear about what you actually do (and plan to do)
When researching insurance, clarity matters more than confidence.
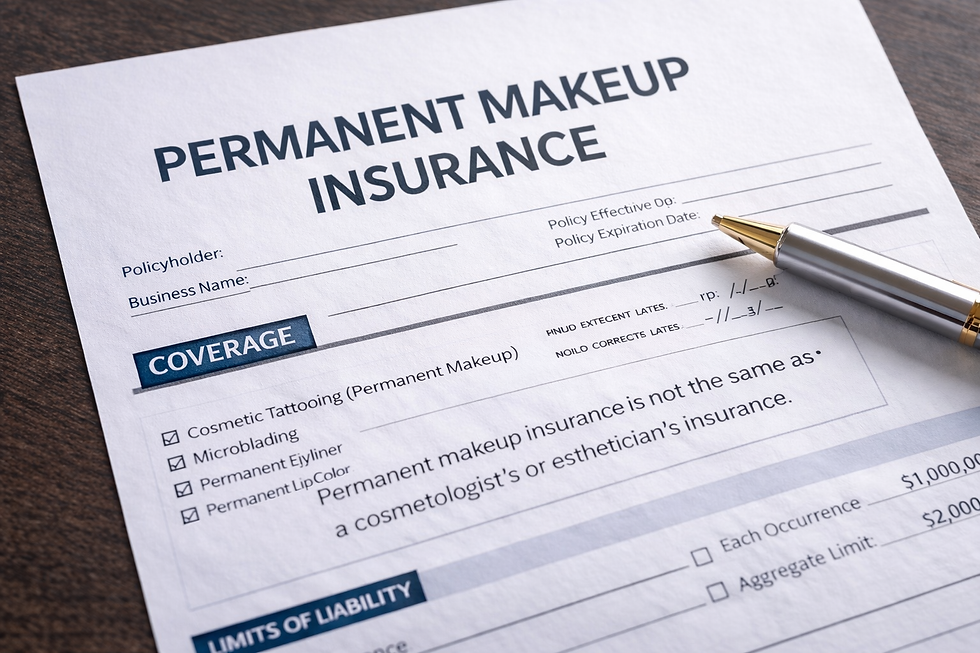
Permanent makeup is not the same as general beauty services, and many policies do not automatically include it. When you’re speaking to an insurance company, use clear language:
permanent makeup
cosmetic tattooing
micropigmentation
brows, lips, eyeliner
If it’s not clearly listed in writing, don’t assume it’s covered. This one detail saves a lot of headaches later.
Step 2: Create a simple “artist profile” before you apply
Before reaching out for quotes, take a few minutes to organize your thoughts. Insurance companies will usually ask:
where you’re practicing
what services you offer
your level of experience
what training you’ve completed
Having this written down makes the process smoother and instantly makes you sound professional (even if you’re still new).

Step 3: Research insurance like an artist, not just a shopper
It’s tempting to compare prices first. Try not to.
Instead, ask questions like:
Do you specifically cover permanent makeup or cosmetic tattooing?
Are brows, lips, and eyeliner included?
Are there exclusions I should know about?
Do you require proof of training hours?
Does coverage vary by state?
If answers feel vague or rushed, keep looking. Good insurance should feel clear, not confusing.
Step 4: Start logging your learning hours (this is huge)
Here’s an important tip most artists don’t hear early enough:
Some insurance companies require around 100 hours of experience or training before they’ll insure you.
And here’s the part people miss:
Those hours are not limited to one single class.
Start logging everything that contributes to your education:
in-person PMU trainings
practice at home (mapping, drawing, latex work)
structured studying and reading
educational YouTube research from reputable sources
local certifications and required courses
bloodborne pathogen training
first aid or CPR training
time spent researching supplies, machines, pigments, and aftercare
Yes, it all counts.
The goal is to show intentional learning and responsibility. You’re not just “winging it.” You’re building knowledge step by step. This is also where having solid educational resources, including books and structured study, can really support your learning journey.
Free Resource: PMU Training Hours Log
Keeping a clear record of your education can make insurance applications much easier. I created a simple training and research hours log you can use to track all learning that may count toward insurance requirements.
👉 Download the PMU Training & Research Hours Log (PDF)
Step 5: Keep everything in one place (your future self will thank you)
Create one folder on your phone or computer that includes:
certificates
training confirmations
your hour log
licenses (if applicable)
bloodborne pathogens and first aid certifications
When an insurer asks for documentation, you’ll be ready instead of scrambling.
Step 6: Apply and communicate clearly
When you apply or email an insurance provider, keep it simple and direct.
Let them know:
what services you offer
that you’re actively training and logging hours
that you’re looking for written confirmation of PMU coverage
Clear communication builds trust on both sides.
Step 7: What to double-check before you pay
Before purchasing a policy, confirm:
PMU is clearly listed as covered
your services are included
exclusions are understood
how claims are handled
whether you need to notify them when you add services later
Cheapest is not always best. Covered is best.

Step 8: Keep learning (insurance loves that)
Even after you’re insured, keep logging education.
Ongoing training supports:
future insurance renewals
advanced education opportunities
your confidence as an artist
It also reinforces something important: PMU is not a one-and-done skill. It’s a profession that grows with you.
A quick personal note
For my own practice, I use Sharp Lines Insurance because they offer coverage specifically tailored to permanent makeup and cosmetic tattooing. As with any policy, it’s important to review details carefully and choose what fits your services, location, and goals.

Final thoughts 🤍
Insurance isn’t about fear. It’s about care.
When you understand your coverage and respect the responsibility that comes with PMU, you build a practice that feels steady, confident, and sustainable.
And that’s something worth protecting.
If you’re considering PMU training and want to start the right way, reach out. I’m always happy to guide you toward education that truly fits your stage. Leave your information here and I will get back to you shortly:


Comments